
SP-IC100 SP-IS105

Tools Needed for Installation

|
Utility knife or scissors |

|
Empty bucket |

|
Adhesive tape |

|
Teflon tape |
Installation Instructions
- Select a location for the inline filter. Allow for adequate access for future filter replacement.
- Turn off the water supply to the tubing where the inline filter will be installed.
- Remove the plugs on both ends of the inline filter.
- Screw fittings into the filter, starting with the inlet fitting. Wrap teflon tape (not included) 2 to 3 times around the fitting before inserting it into the filter. Make sure to tighten, but not overtighten.
- Wrap teflon tape 2 to 3 times around the outlet fitting and insert it into the filter, making sure to tighten but not overtighten.
- Remove the existing filter, unhook your braided supply line from the back of the refrigerator, or if you have a plastic water supply line, cut the cold water tubing where the filter will be installed.
- If cutting plastic tubing, cut it square and cleanly. An uneven or rough cut may damage the internal o-ring and cause a leak.
- Connect the inlet side of the filter to the tubing.
- Confirm water flow matches the flow direction arrow on the filter.
- Slowly turn on the water and flush the filter into a bucket. Run the water for 5 minutes. Turn off the water.
- Insert the outlet line into the filter. If you have a braided supply line, you will need to connect a second braided supply line from the outlet side of the filter to the back of the refrigerator.
- Secure the filter to the back of the appliance or wall using adhesive tape.
- Turn on the water and check for leaks. Continue to check for leaks for several days.
SP-IC100QCSP-IC380QCSP-IS105QCSP-IS385QC

Tools Needed for Installation
|
|
Utility knife or scissors |
|
|
Empty bucket |
|
|
Adhesive tape |
Installation Instructions
- Select a location for the inline filter. Allow for adequate access for future filter replacement.
- Turn off the water supply to the tubing where the inline filter will be installed.
- Remove the existing filter or cut cold water tubing where the filter will be installed.
- Note: Cut tubing square and cleanly. An uneven or rough cut may damage the internal o-ring and cause a leak.
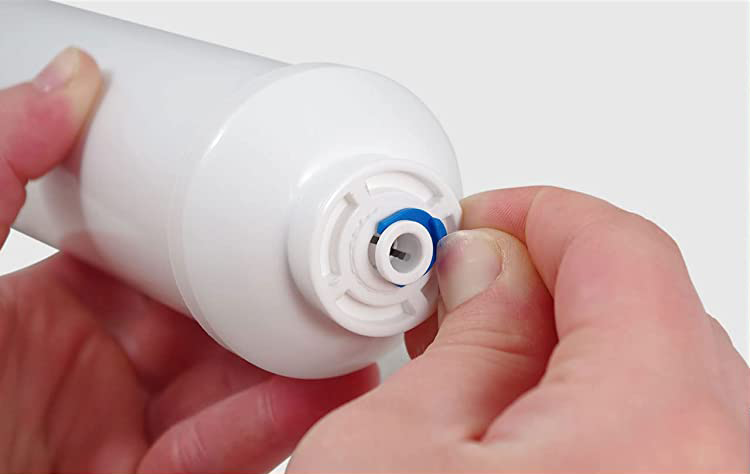
- Remove the blue clips on both ends of the inline filter.
- Confirm water flow matches the flow direction arrow on the filter.
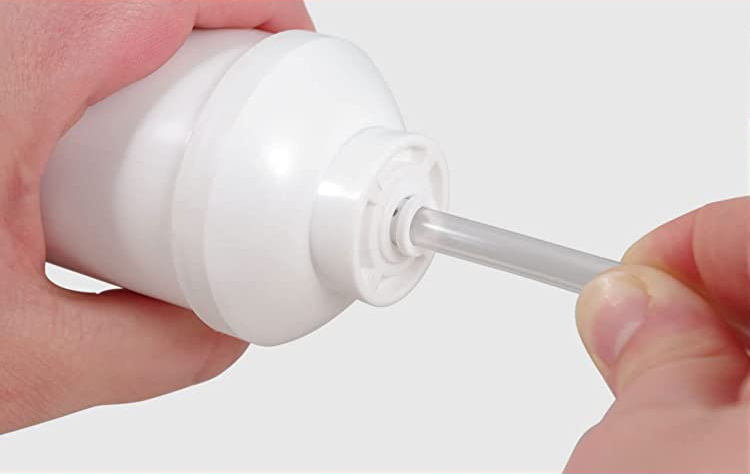
- Insert the water supply end of the tubing into the quick connect fitting on the end of the filter
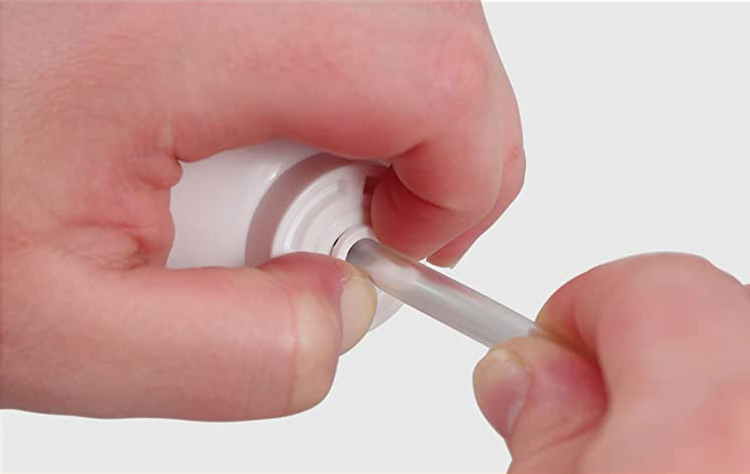
- Once the tubing has bottomed in the fitting, gently pull back to ensure the tubing is secure
- Slowly turn on the water and flush the filter into a bucket. Run the water for 5 minutes.
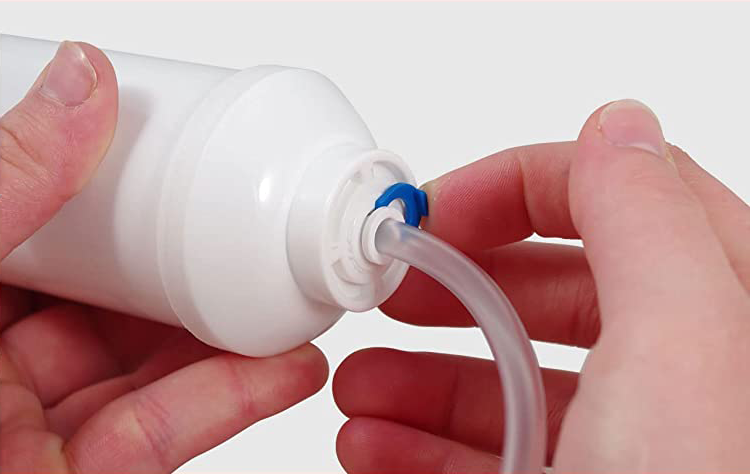
- Reinstall the blue clips in the groove on the quick connect fitting on each end.
- Connect the other appliance end of the tubing to the outlet of the filter. Secure the filter to the back of the appliance or wall using adhesive tape.
- Turn on the water and check for leaks. Continue to check for leaks for several days.